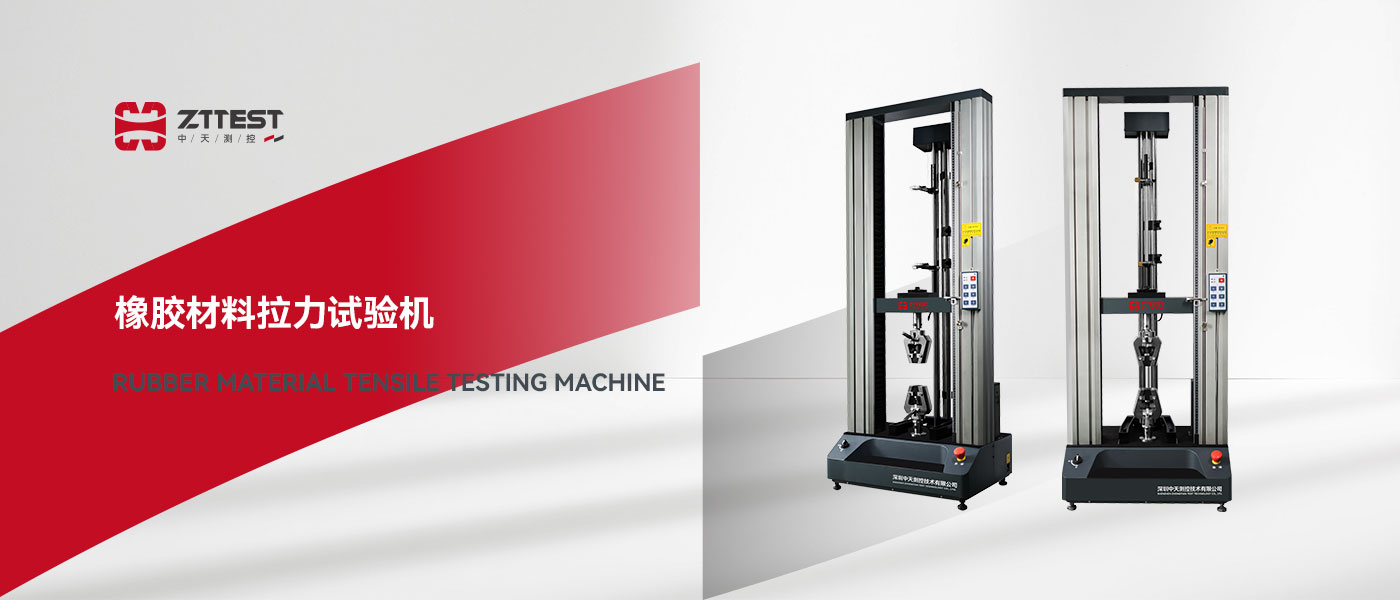
Rubber Material Tensile Tester is used to test the performance of rubber materials under mechanical conditions such as tensile, compression, bending, etc. It is commonly used in the fields of quality control, research and development, and material testing of rubber products. The following are the operating steps and precautions of the rubber material tensile testing machine to help you use the equipment correctly and effectively.
I. Equipment preparation and inspection
Check the status of the equipment
Before starting the equipment, make sure that all parts of the equipment are operating normally, especially the force transducer, displacement transducer, control panel and loading system.
Power supply check: Make sure the power supply is connected properly and there will be no abnormality when the equipment is started.
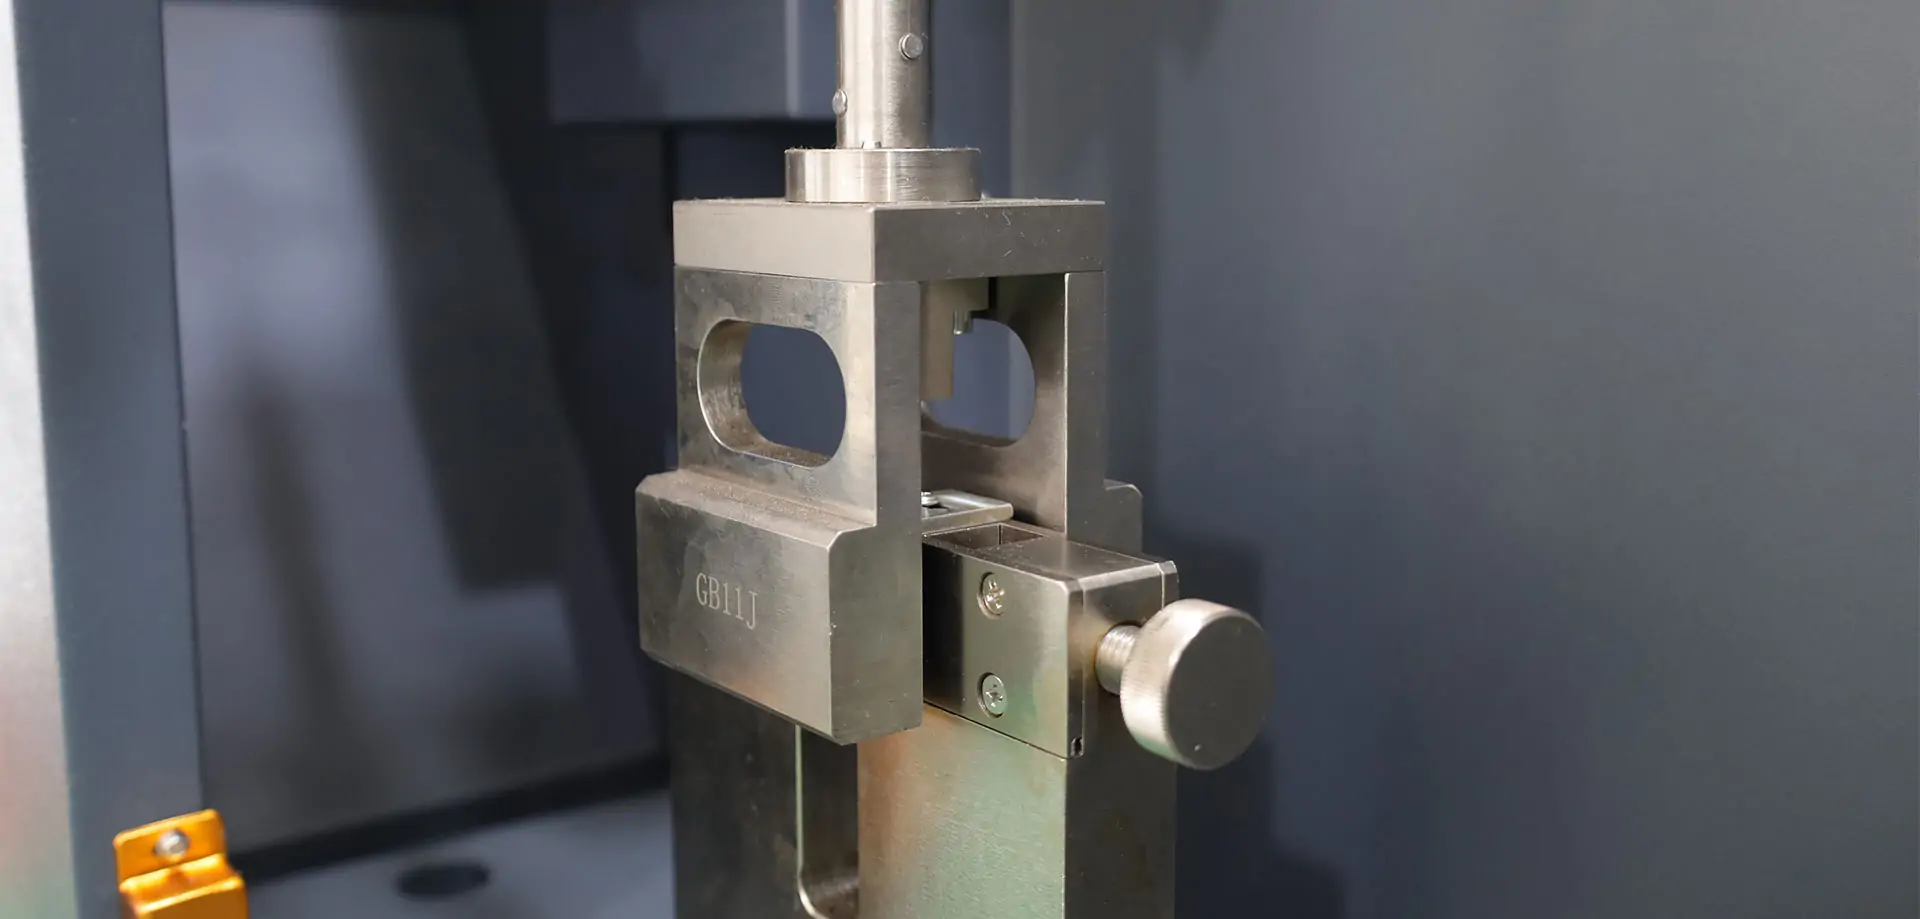
Check the fixture: according to the size of the rubber sample to be tested, select the appropriate fixture and make sure the fixture is intact.
Cleaning
Make sure the working area of the equipment is clean and free of foreign matter to avoid affecting the testing accuracy. Especially the force transducer and the test bench should be free from dust or sample residue.
Connecting the data acquisition system
If the equipment is equipped with a computer control system or data acquisition system, make sure that the computer is properly connected to the testing machine and the software has been started.
II. Sample Preparation and Installation
Sample cutting
According to the standard requirements, cut the appropriate size of the rubber specimen. Generally speaking, the specimen should be uniform, smooth surface, size in accordance with the provisions.
The specimen of rubber material is usually in the form of strip, sheet or ring, and the appropriate sample shape should be selected according to the actual test requirements.
Mounting the sample
Put the cut rubber specimen into the fixture of the tensile testing machine and make sure the specimen is fixed firmly.
When mounting, make sure the sample is parallel to the fixture and avoid twisting or skewing, which will help the accuracy of the test data.
Fixture Selection
Tensile test: Usually use parallel fixture or disc fixture to clamp the rubber sample at both ends.
Compression test: Use compression fixture to ensure that the sample is not displaced during the test.
III. Setting Test Parameters
Setting test mode
According to the type of rubber material and testing needs, select the corresponding test mode (such as tensile test, compression test, bending test, etc.).
Setting test parameters
In the control panel or computer software, set the following parameters:
Loading rate: Set the loading rate (e.g., 1 mm/min, 5 mm/min), i.e., the speed of change of loading force.
Test temperature: Set the temperature of the temperature control system if high or low temperature test is required (select the appropriate temperature according to the characteristics of the rubber material).
Test duration or displacement range: Set the duration or displacement range of the test.
Zero Calibration
Before starting the test, carry out zero calibration to ensure that the sensor and data acquisition system are accurate.
IV. Start-up Test
Start-up test
After confirming that the sample is correctly installed and all parameters are set, press the start button, the tester will automatically load the force and carry out displacement measurement and record the data.
Real-time monitoring of data
During the test, you can monitor the real-time data through the display or computer to view the force-displacement curve and other important parameters.
Pause or terminate the test
If abnormalities are found during the test (e.g. sample rupture, equipment failure, etc.), the test should be suspended or terminated immediately.
V. Data Recording and Analysis
End of test
When the sample breaks or reaches the set displacement range, the device will automatically stop the test and record the relevant data.
Data export
After the test is completed, the test data is exported through the computer system. Commonly exported data include tensile strength, yield strength, elongation at break, modulus of elasticity and so on.
Result Analysis
Analyze the performance of the rubber material according to the test results and check whether it meets the product standards and quality requirements.
VI. Cleaning and Maintenance
Equipment cleaning
After the test, clean the working table, fixture and sensor of the testing machine in time to prevent the influence of sample residue on the equipment.
Use appropriate cleaning tools to avoid scratching or damaging the equipment.
Regular Inspection and Maintenance
Regularly check the mechanical parts, sensors and electrical systems of the equipment to ensure that they operate properly.
Carry out regular maintenance and servicing according to the user manual of the equipment to prolong the service life of the equipment.
VII. Precautions
Safe Operation
During operation, pay attention to the changes of the sample and the working condition of the equipment. Avoid injury caused by excessive stretching or equipment failure.
Protective gloves, goggles and other safety equipment should be worn during use to prevent accidental injury caused by high temperature or pressure.
Equipment Calibration
Perform regular calibration of the equipment to ensure the accuracy of the sensor and avoid inaccurate data due to equipment failure or calibration problems.
Sample Preparation
Ensure that the size, shape and surface smoothness of the sample meet the test requirements to obtain reliable test results.
Summarize
Rubber material tensile testing machine plays an important role in quality control and R&D testing of rubber products. By following the correct operating procedures, you can ensure that every test provides accurate results. Appropriate test parameters, sample preparation and equipment maintenance are all critical factors that affect the quality of your tests, and ensuring that these steps are in place will help you to efficiently test the mechanical properties of rubber materials.